With most of image I used the same technique so they look similar. I also duplicated the background image on most of my photo-shopped images before editing them so that if I made a mistake with the clone stamp then it could be easily amended. I also added layers instead of putting the adjustments straight onto the original image so that it could also be amended or deleted easily if I made a mistake.
Image 1

Before

After

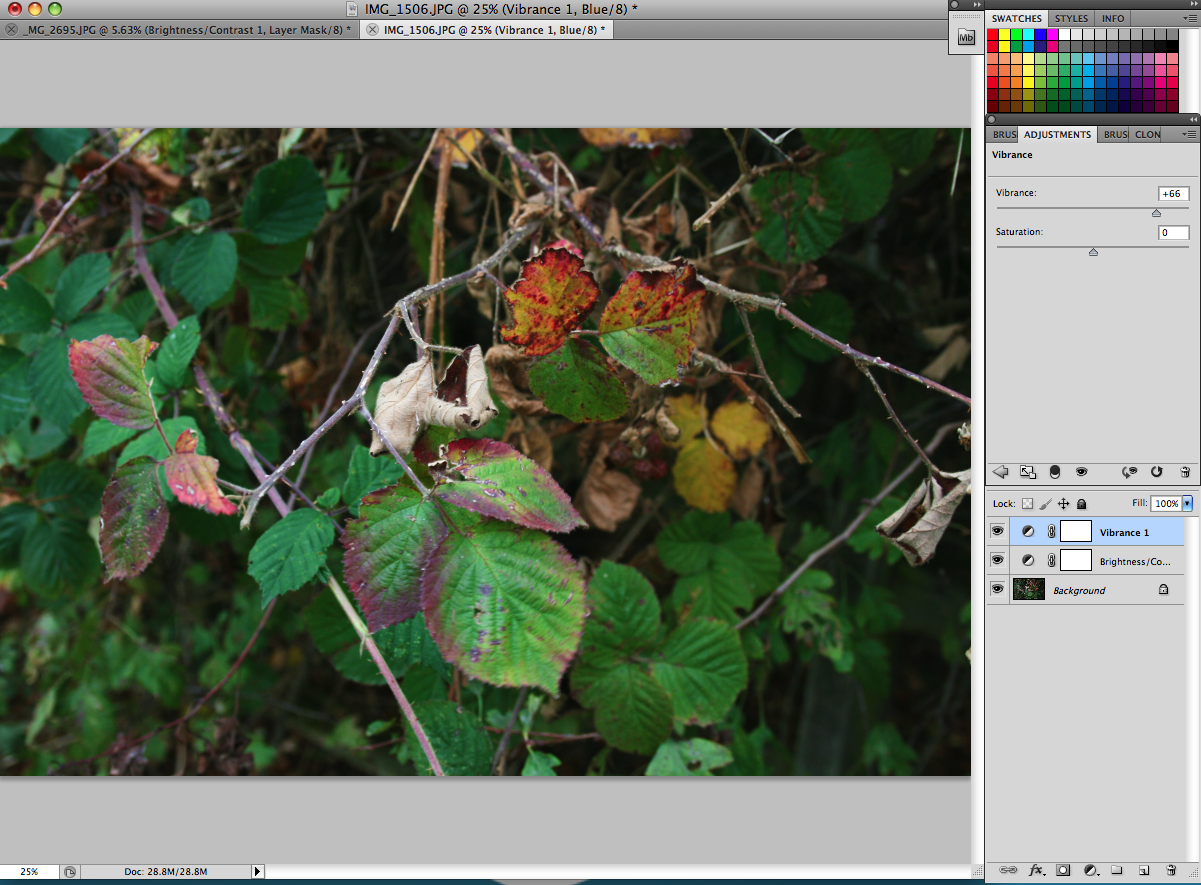
I adjusted the brightness and contrast so the image looked a lot brighter as they was quite a bit of shade from the trees.

I then adjusted the vibrance so that the green of the leaves would stand out against the dull mud.
Image 2

Before

After

I cropped the image so that it was the right size and to remove most of the bench from the image. I then used the clone stamp to get rid of the remainder of the bench.

I then changed the brightness so that the grass would be brighter than the greyness of the path.

Changing the exposure made the squirrel lighter so it stood out from the tree trunk.
Image 3

Before

After

I altered the brightness and contrast so that the image was more brighter as the image was quite dull from the shade.

Adjusting the vibrance made the colour of the autumn leaves stand out.
Image 4
Before

After

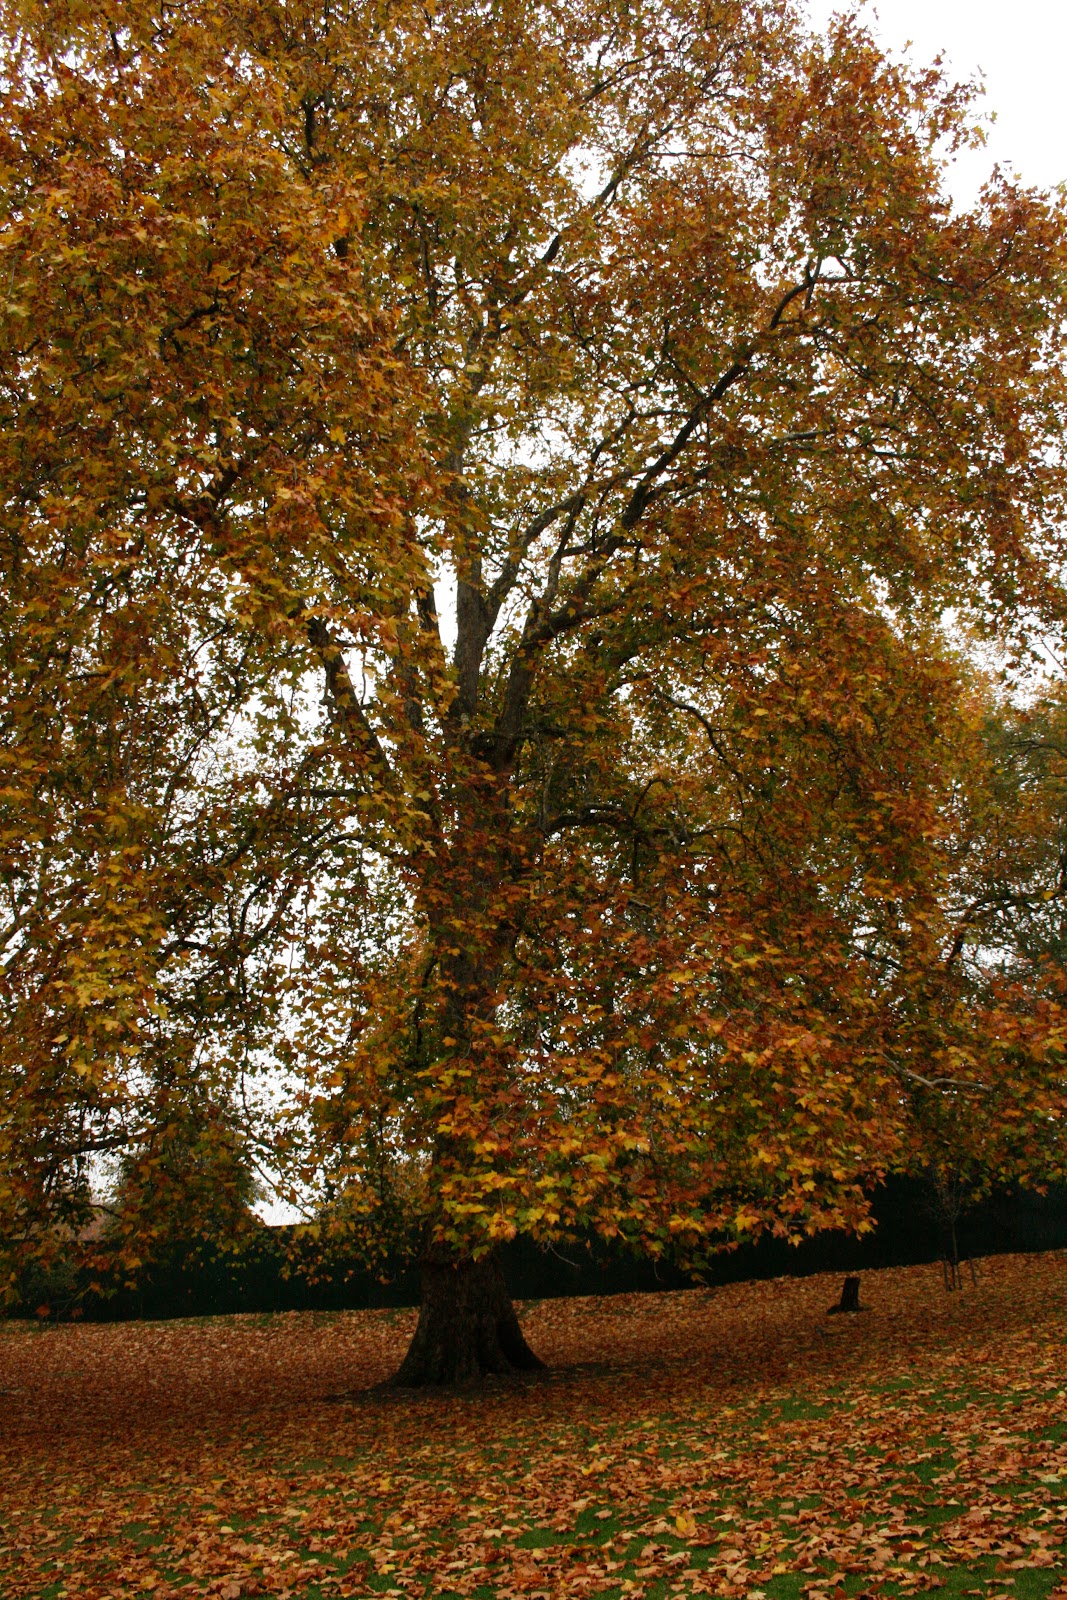
I cropped the image to the size and resolution that I wanted to.

I then rotate the image as the tree was on a slight angle.

I then had to alter the rotation again to get it straighter.

I then cropped the image again to remove the white around the image from rotating it.

I then altered the contrast so that the orange of the leaves became brighter and the daylight was enhanced.
Image 5

Before

After

They wasn't much alteration needed to be done to this image so all I had to do was make it brighter so I adjusted the brightness and contrast so that the different coloured leaves stood out and the dullness was removed.
Image 6

Before

After

First I cropped out the building in the image and then used the clone stamp to remove the people in the background so that the viewer's attention was concentrating on the trees and the colours it gave off.
I then had to adjust the brightness and contrast so that the leaves stood out from the dull tree trunks.
Image 7
I then had to adjust the brightness and contrast so that the leaves stood out from the dull tree trunks.
Image 7

Before

After

For this image all I did was change the brightness and contrast so that the natural daylight was enhanced.
Image 8

Before

After

I changed the brightness and contrast to make the image lighter because when I took the photograph the trees were blocking the natural light.

Then I adjusted the vibrance so that the colours of the leaves would stand out.
Image 9

Before

After

Firstly I changed the brightness and contrast as like the last image it was dull because of the shade of the trees.

Then I adjusted the exposure so that the tree trunks appeared lighter and the greens were brighter.
Image 10

Before

After

I altered the brightness and not the contrast on this image. This made the whole image lighter.
I then used vibrance to make the leaves brighter.

And finally I used exposure to then make the background and the lighting even brighter.
No comments:
Post a Comment